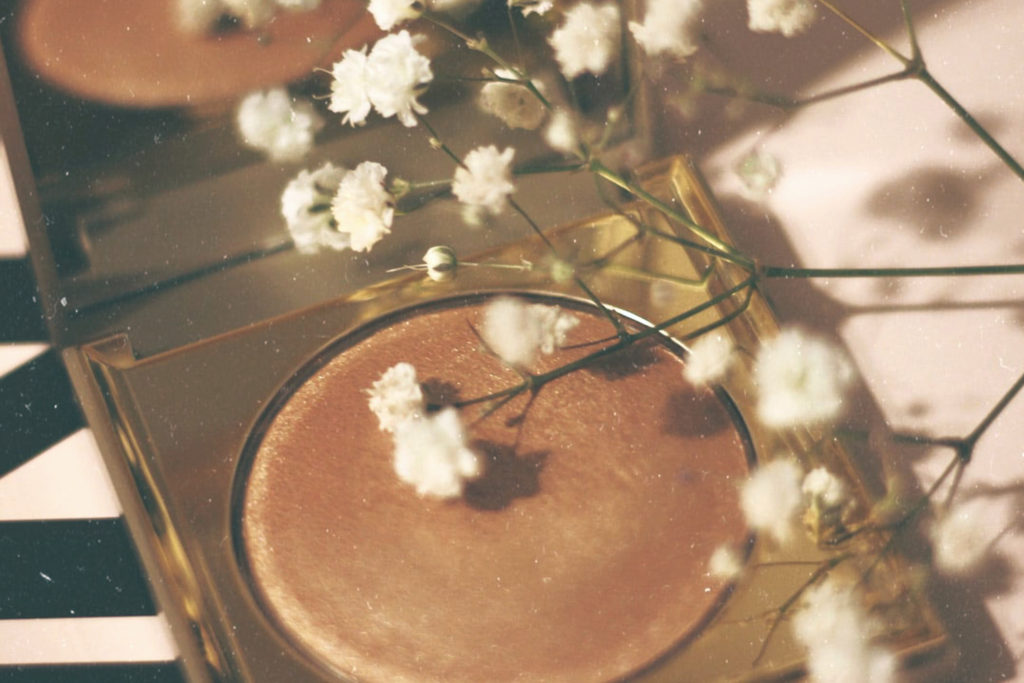
I’ve never been a make-up type gal. Blessed with great skin and a naturally youthful look, coupled with being a hippy at heart who rarely wears a bra or shoes, make-up has always been a special occasion or “just cuz I’m feeling fine” pastime.
Recently, I have stumbled upon the realization that doing my makeup makes me feel great. I feel fresh, happy, pretty and pampered when I pretty myself up. I don’t feel like I NEED makeup, but I’m enjoying it far more than I ever have before. Not sure why, but I’m running with it!
I signed up for Ipsy, a monthly makeup subscription box, and one of the first items they sent me was a highlighter. What the heck do I do with a highlighter?! *runs off to Google to investigate*
Here’s what I learned, and here’s what you’ll learn too (although you probably already know all this, haha):
Highlighting is an age-old pro makeup artist technique that has recently become an everyday staple for the average person, like moi. Not only does highlighting add dimension to your face, but it also makes foundation look more natural.
Ipsy described highlighting as:
“Essentially, highlighting is the exact opposite of contouring. When you contour, you use a color darker than your skin tone to create the illusion that certain features (like your cheekbones, jawline, and temples) are being pushed. This results in a chiseled effect.
Highlighter, on the other hand, uses a shade lighter than your skin tone to catch light and push features out, making them look more prominent. Light-reflecting products will also give you the same look, which is why some highlighters are also called illuminators.
Highlighting can help add dimension to your face. And when combined with contouring, the effects are doubled, which is especially helpful when your features have been washed out by a full coverage foundation.”
For the most natural-looking highlight, you’ll want to stick to the high points of your face. Your high points are the spots on your face where the light would naturally hit, like the tops of your cheekbones, your brow bones, Cupid’s bow (that little dip above the center of your top lip… for some reason I love highlighting here!), and down the bridge of the nose. I have also found that highlighting the inside corners of my eyes looks pretty, although I don’t see this as one of the common spots to highlight.
My first time trying my highlighter, I went a little overboard, but even so, the effect was appealing and I loved catching my reflection and seeing the slight shimmer and glow around my eyes and cheekbones. I have been having a lot of fun experimenting with the perfect balance and placement for the effect highlighter lends. Plus, Ipsy sent me another highlighter in my last box (which initially peeved me… ANOTHER highlighter?!…) but seeing the difference in the peach toned highlighter vs. the gold toned one is a lot of fun to play around with!
And really, highlighters can go anywhere you want to stand out. Wearing a low cut top? Pop a little highlighter over your shoulders and collarbones. Rocking a sleeveless dress? Run a bit down the front of your arms. What about a skirt or dress? A touch of highlighter down the center of your legs will look stunning.
A couple of helpful tips I’ve gleaned in my “learning how to makeup” journey is that powder highlighters are a bit easier to work with (or so I’ve heard, I only have 2 powder highlighters to my name at the moment) and powder will deliver a bit more pigment payoff, are easily buildable, and are best for oily skin as they don’t add any additional oils or emollience.
Some more tips for applying powder highlighter from Ipsy:
“If you’re wearing liquid foundation or tinted moisturizer and want to use a powder highlighter, you will need to set your base beforehand with a translucent powder. This will help ensure your highlighter will apply smoothly and won’t skip or crease. If you’re going in with a liquid or cream option, feel free to skip this step as they’ll blend easily together. Remember this makeup rule of thumb: powders on top of powders and liquids or creams on top or liquids or creams.
Once you’re prepped, it’s time for tools. Powder highlighters work best with a fan brush or small to medium sized blush brush—a fluffy eyeshadow brush will also work—basically you just want something small for precision.
Dip your brush into the powder and tap off any excess to avoid pigment fallout. Then in a sweeping motion, dust the brush across your high points: your cheekbones, brow bones, Cupid’s bow, and the bridge of the nose.“
Anyhoo, I literally cannot stop wearing highlighter. It’s strangely addicting, to the point that I’ve played with it when having stay at home days where I only have my kids, husband and myself to impress, lol. I’m excited to see what other fun makeup tricks I’ll stumble into with this subscription box.. so far its been money well spent!
CURRENT STATS
Start Weight (May 15, 2020): 201 pounds
Current Weight (July 10, 2020): 183.8
Total Pounds Lost (Since May 15, 2020): 17.2
Pounds Left to Lose to Reach Goal Weight of 130 pounds: 53.8
OVERVIEW
MONTH ONE: 12.8 pounds lost
MONTH TWO (still in progress): 4.2 pounds lost

