[The original post, along with all comments and page views was deleted during a server transfer on my website. As such, I’ve attempted to the best of my ability to rewrite this post – which is a bit disheartening, all things considered. Regardless, I’ve done my best to reproduce my original post.]
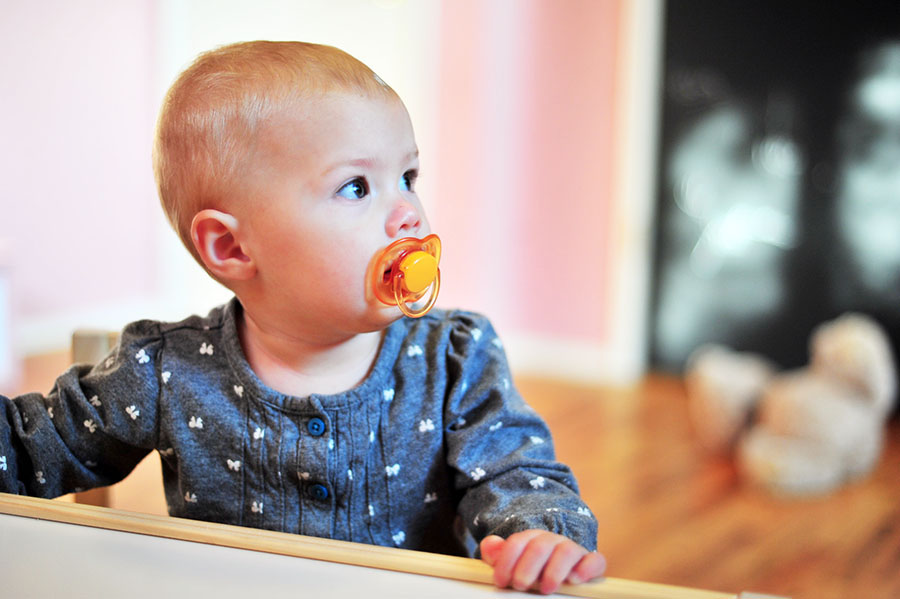
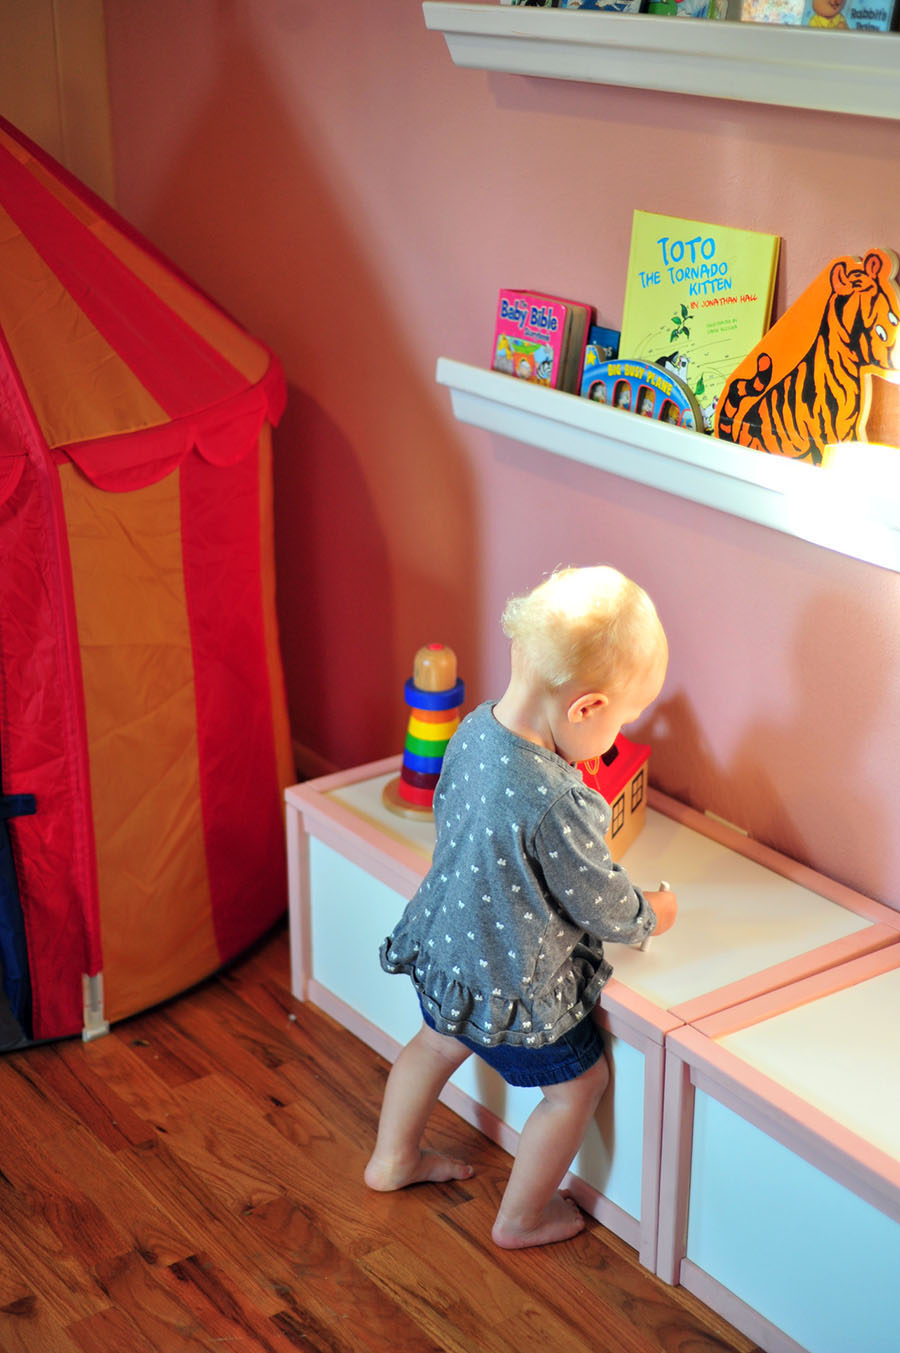
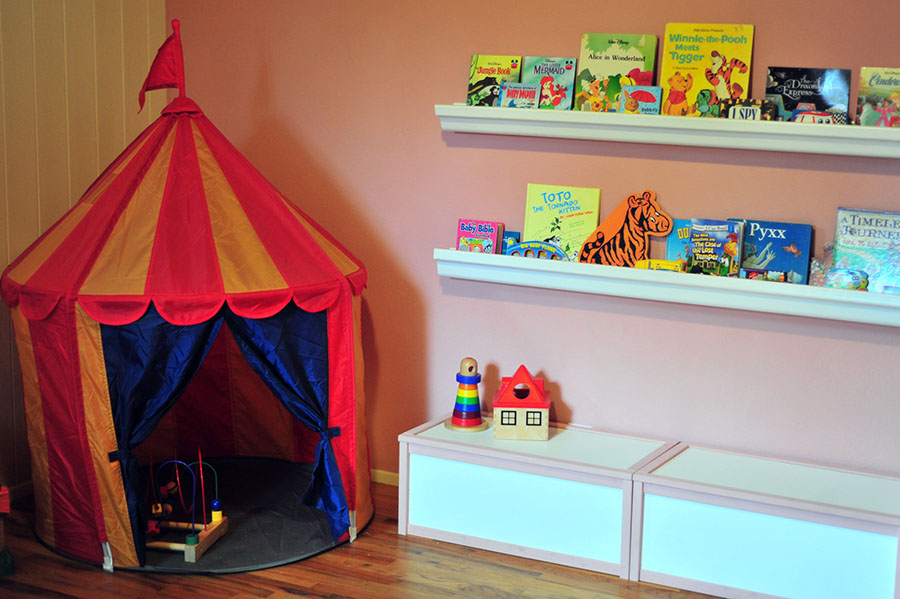
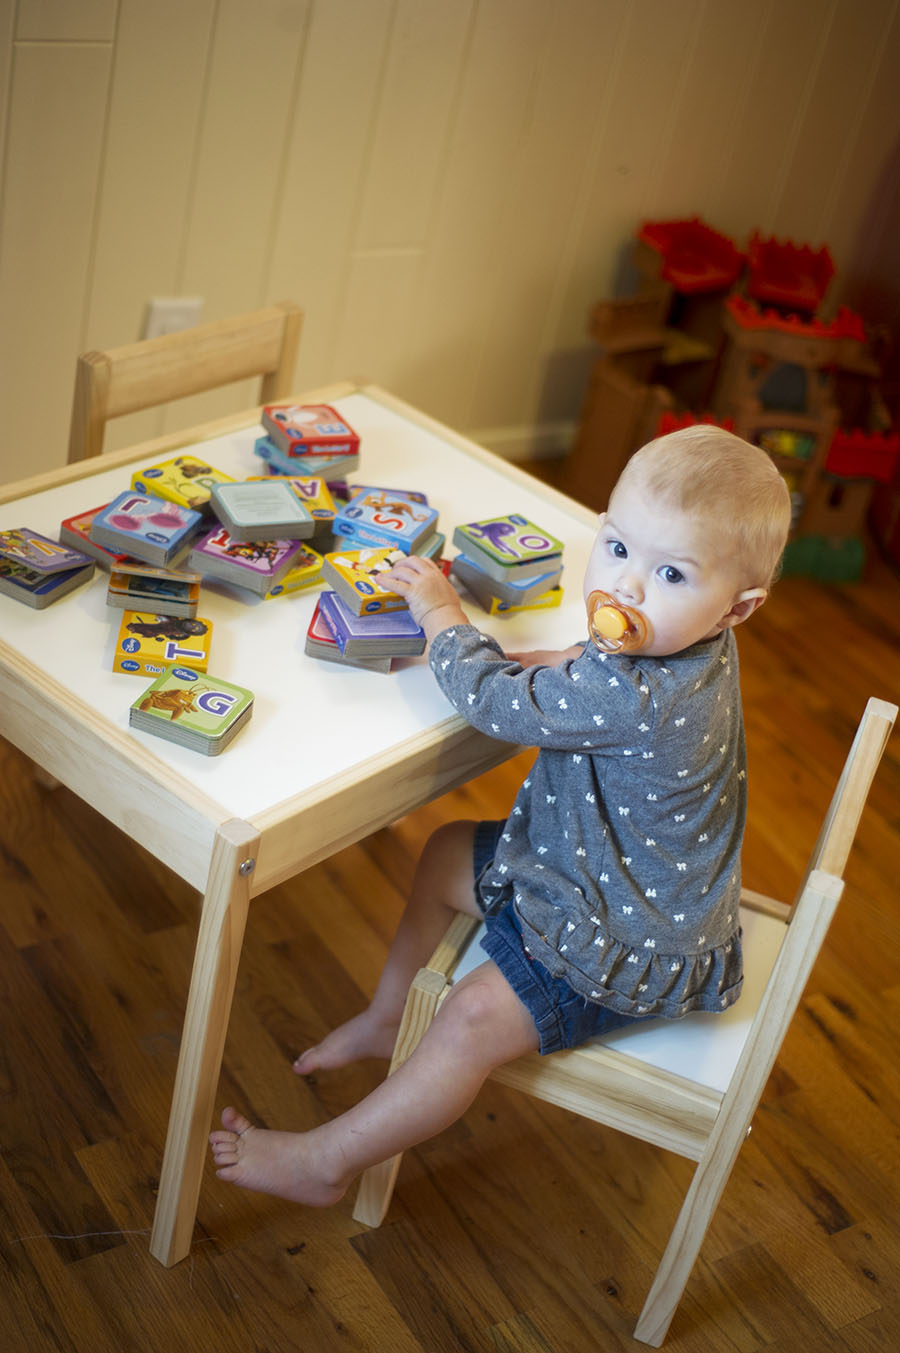
While we are far from finished, we have finally reached a point in Tessa’s playroom remodel where the room is no longer actively “Under Construction”, and the near month-long ban of the room (no cats, dogs, or babies allowed!) has been lifted. I will be blogging thoroughly on all of the details of this project, along with some great DIY tutorials and a review of the awesome paint company we used to achieve the pretty princess pink of Tessa’s new playroom in the next few weeks, but for now I just couldn’t wait to share some sneak peeks of all our hard work!
When we bought our house eight months ago, our built-in-the-50’s ranch style house had clearly undergone some upgrades here and there from previous owners. Each room had a touch of personalization here and there.. all but this one back room, that is. When we first toured the house with an eye for purchasing it, the owners were using this room as the random junk storage room. It had a single futon, stacks of boxes, and deer heads mounted on the wall. Not exactly what we had in mind for a pretty princess playroom!
So here’s a quick rundown of the few renovations we’ve made thus far:
We painted the walls and her toy boxes.
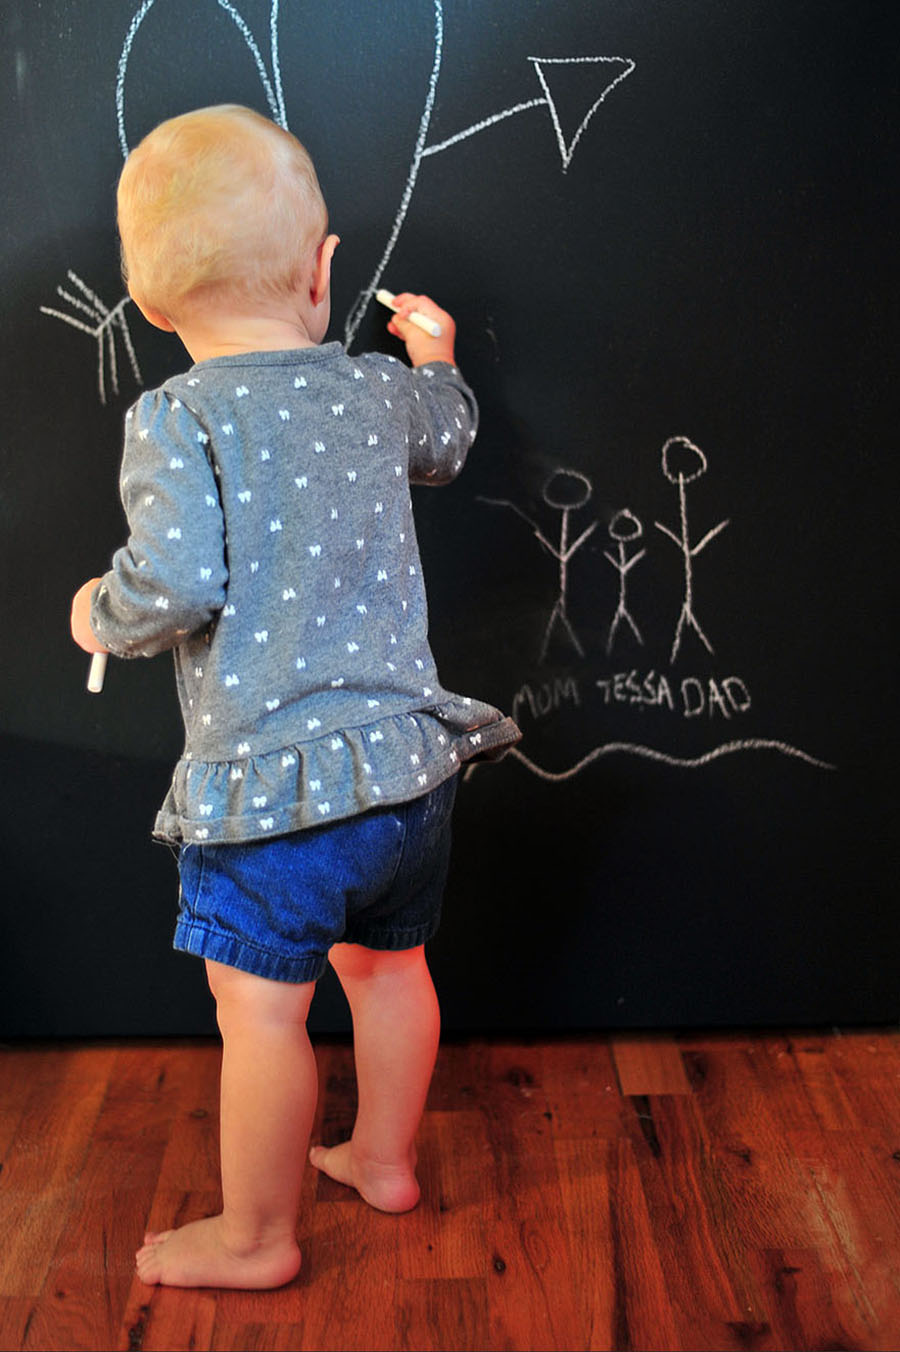
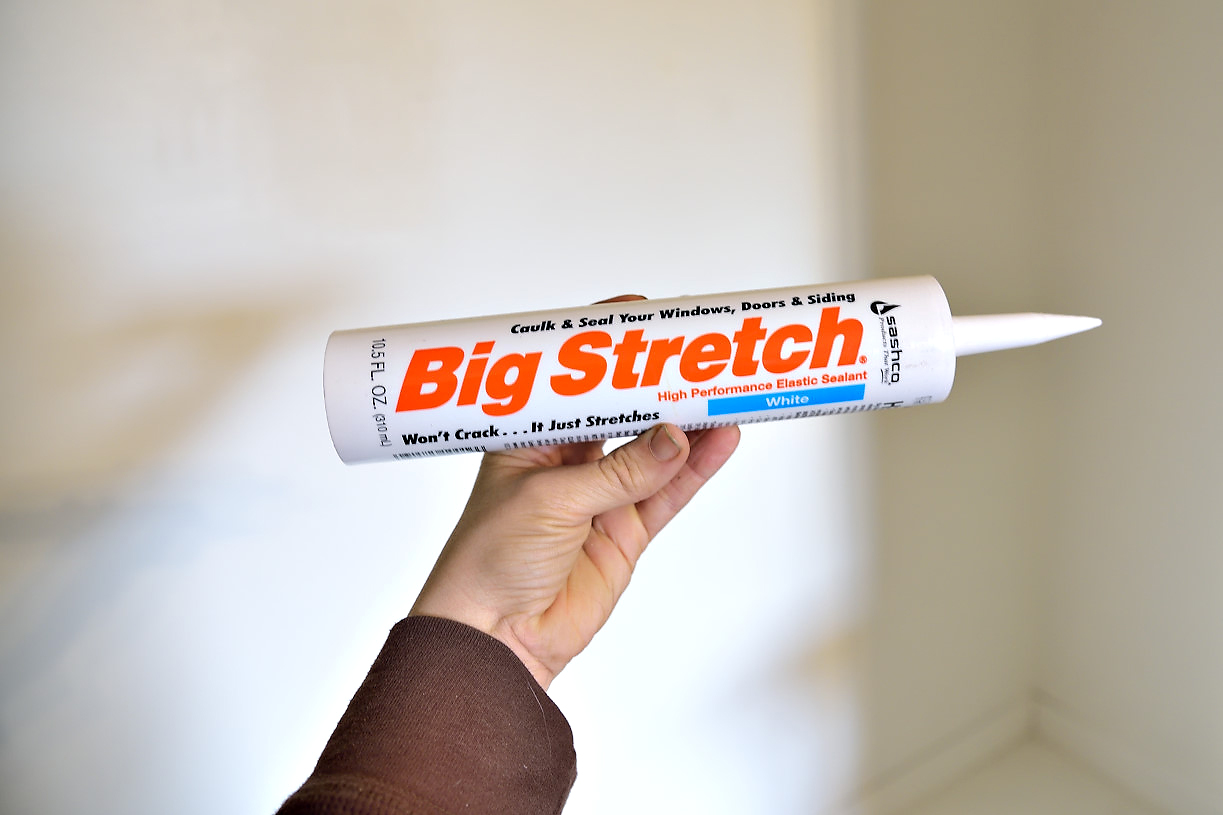
The biggest transformation in converting the room from it’s former drab interior was hands down adding fresh paint. Before we started, the room had dingy white walls, with an unfinished, partially installed pine paneled accent wall. We started by finishing the pine paneling (caulking the corners, baseboards and window casings), and then we painted the dated county-themed brown wall a vibrant white.
Next, we partnered with The Old Fashioned Milk Paint Company (click here to check out their website) to paint the walls a gorgeous shade of pink – colorful and bold, but not too overbearing. It was a delight working with this milk based paint, and I am extremely happy with the results. Keep an eye on my blog for a full review of their wonderful, eco-friendly and all natural product. We had some paint left over, so we decided to paint Tessa’s Ikea toy boxes to match! The result was simply adorable and really added a seamless quality and feel to the room.
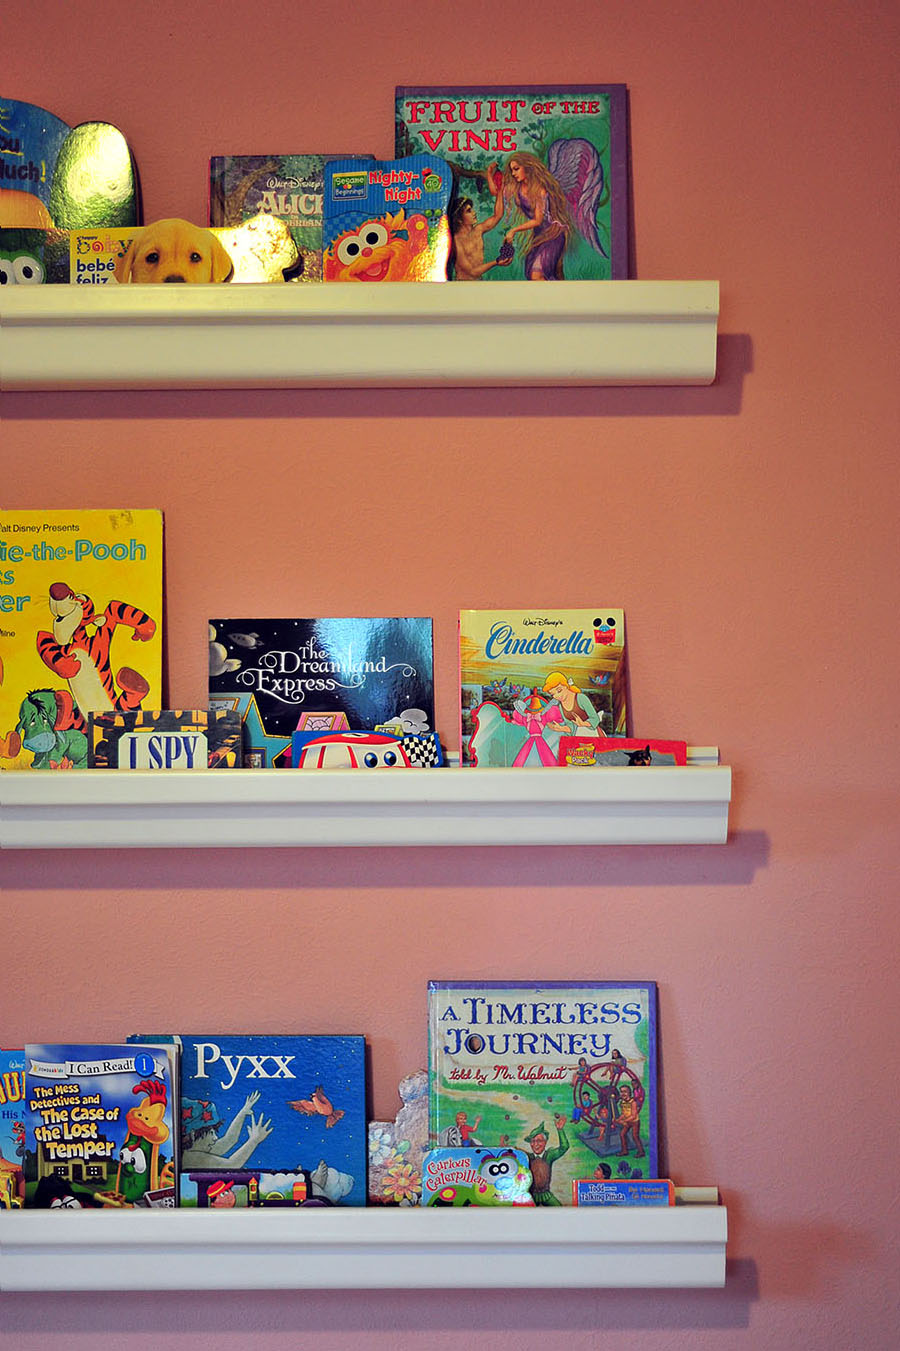
We put up rain gutter book shelves.
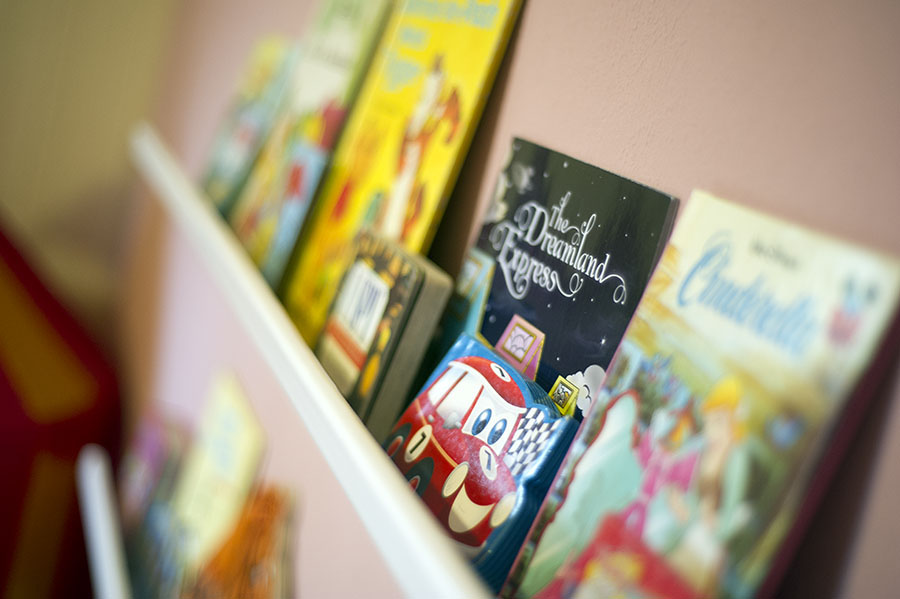
Ah, yes. The famous Pinterest DIY rain gutter bookshelves that are making the rounds on the interwebs! I thought I would give these bad boys a shot, not only because front facing board book shelves are redunkulously overpriced, but because a friend of mine attempted this project with some pretty decent results. (She had purchased flimsy gutters, but even so, they were still doing a pretty good job!)
We bought $8 worth of rain gutters, and ended up only using about a third of what I purchased. Not only was this project crazy simple and affordable, but the finished look is far better than I’d expected. While there are a trillion tutorials and blog posts on this particular project out there, I’ll be adding my own experience in an upcoming post!
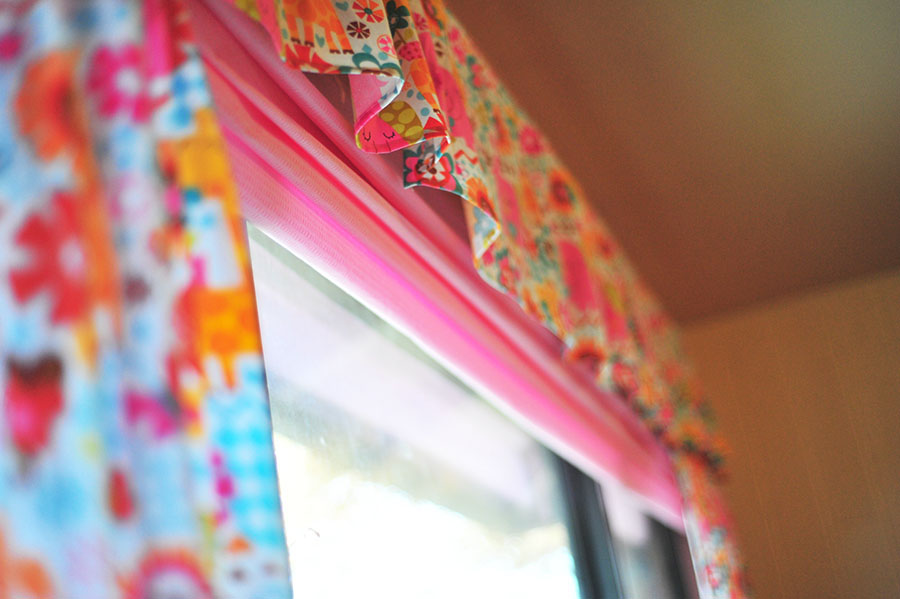
We made roman blinds from mini blinds, and curtains.
The mini blinds that were left in the room were an ugly dark brown, and about a bazilliondy years old. I thought of replacing them altogether, but the large window on the south side of the room is an unusual length – over 8 feet long. None of our local hardware stores had that size, and ordering it online was more money than I was feeling inclined to spend.
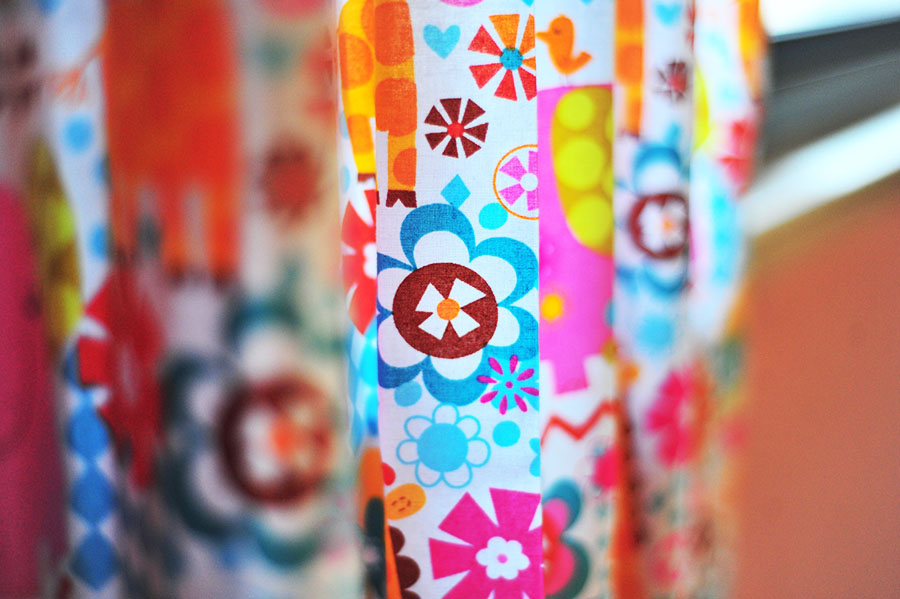
So I decided to try my hand at another DIY Pinterest project – the DIY roman blinds from mini blinds. It worked PERFECTLY. We found some pretty pink fabric at the Joanns Fabrics Veterans Day sale (less than $2 a yard!) and we had these roman blinds cranked out in one evening. I also sewed some curtains and ruffles from a whimsical zoo print we found (also on clearance from Joanns). Not only do the curtains cater to Tessa’s current zoo craze, but the colors really work well with the princess pink and vibrant white paints we used.. it contained enough complimentary colors to unify the pink anchor walls and white accent wall.

